


★ APPLICATIONS ★ DIVERS ★ LATHE ★ |
| Lathe (Amstrad Computer User) | Applications Divers |
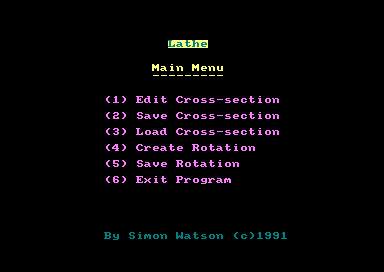
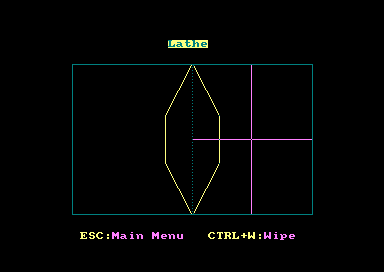
Here's a simply phenomenal little program that will enable you to create your very own cross-section of shapes, from which the computer will generate a 3D wireframe image. It may not sound particularly stunning, but load it, follow the comprehensive instructions below, and youll soon be creating veritable masterpieces good enough to adorn any Technical Drawing project It really is quite a stunning piece of work. Try it for yourself.
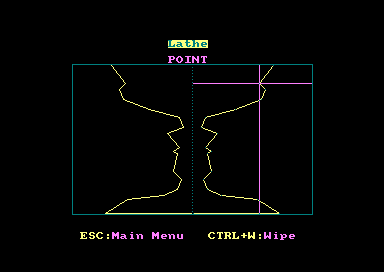
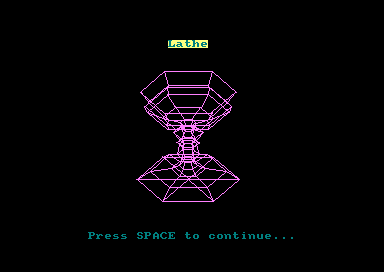
(1) Edit Cross-section The screen will display a box containing the current cross-section with a dotted line dividing the box into two halves. Editing takes place in the right-hand half, with any changes being mirrored automatically. A cross-section is a collection of points (up to 25) connected by lines. The cross-hairs, that act as the cursor, can be moved around the box with the cursor keys. To alter the position of a point first select it by moving the cursor over it and press SPACE. Now drag the point to its new position and press SPACE once more to release it If you change your mind having moved a point simply press RETURN/ENTER to return it to its previous position. Although the points are shown in a different colour to make them stand out, precisely selecting them with the cursor can still be tricky. To combat this, the word 'POINT" appears above the box whenever the cursor is exactly positioned over a point The colour of the word changes when a point is actually selected. An alternative is to press the '.' key on the numeric pad which positions the cursoratthe nearestpoint NOTE: Points cannot be placed on top of other points. LINES SHOULD NOT OVERLAP!! To create a new point move to an existing one and press COPY. The new point is now selected and should be moved to its new location before pressing SPACE. NOTE: Pressing COPY automatically releases any point you might already have selected. Therefore there is no need to press SPACE before creating a new point. Holding down CONTROL whilst pressing DELETE will remove the point that is currently selected. NOTE: Two points are the minimum number allowed. If you wish to create a cross-section from scratch as opposed to editing the current one, press CONTROL and W. The first two points are drawn for you but can easily be repositioned. To add extra points, place the cursor over the point nearest the centre and press COPY. When happy with its position press COPY for the next point and so on. Pressing SPACE will end this process. A warning noise will sound if you attempt to select an invalid option eg selecting a point which isn't there. To return to the main menu press ESCAPE. (2) Save Cross-section The current cross-section is shown and you are prompted for a filename. Pressing RETURN on its own will return you to the main menu. To save it, enter a valid filename remembering that only the first eight characters will be used. Tape users should press REC+PLAY before pressing RETURN as the program starts saving straight away. (3) Load Cross-section Identical to option 2 but is used to load cross-sections from tape/disk. (4) Create Rotation Transforms the current 2d cross-section into a 3d wireframe solid. Simply enterthe number of faces you wish the solid to have (8 to 20) work best, and press RETURN. Pressing RETURN on its own will return to the menu.
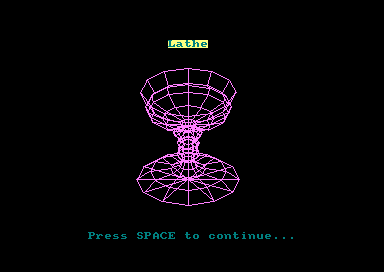
(5) Save Rotation Saves the current rotation as a 17k binary file. This file can be loaded into your own programs by typing: MODE 1:LOAD"filename",&c000 This option can also be used to view the current rotation without having to recalculate it Press RETURN on its own to return to menu. (6) Exit Program Returns the user to BASIC. Type RUN to restart program although cross-section will have been reset Command Summary
|


