


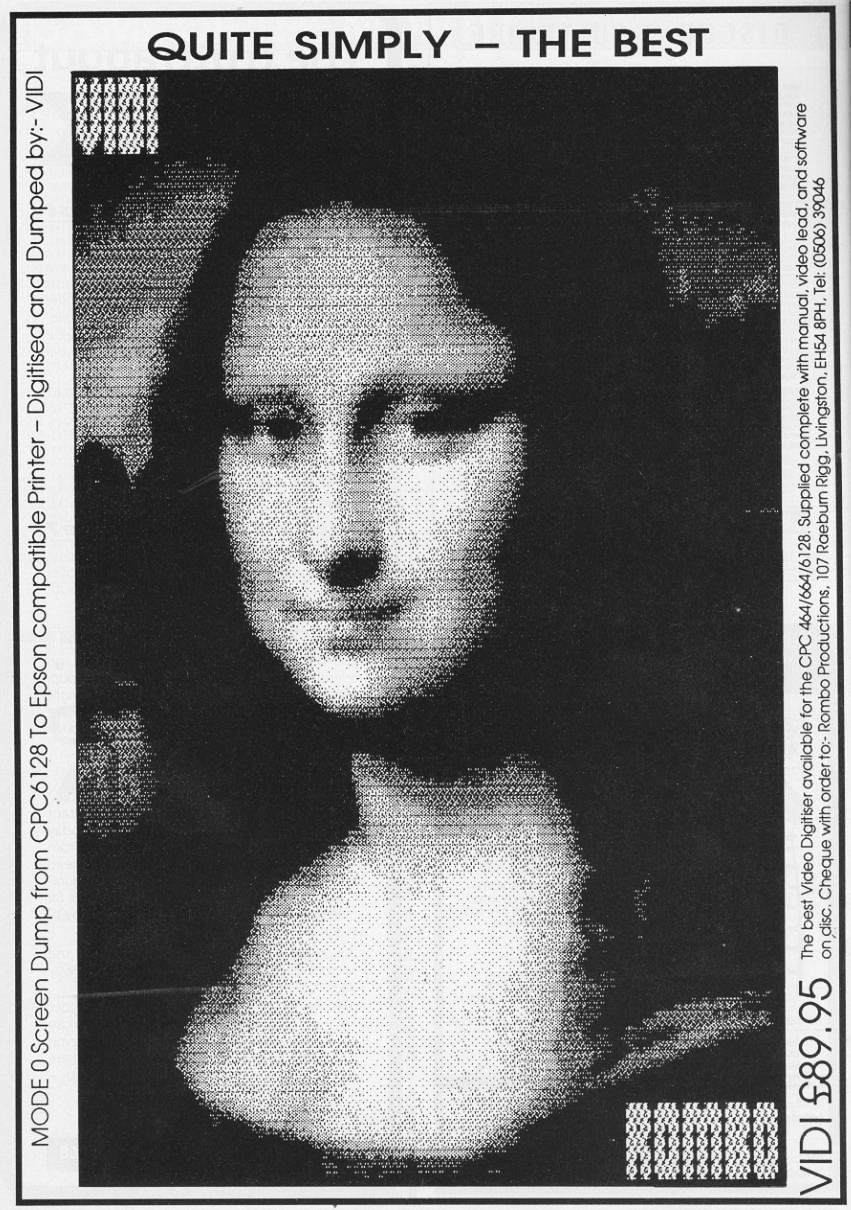
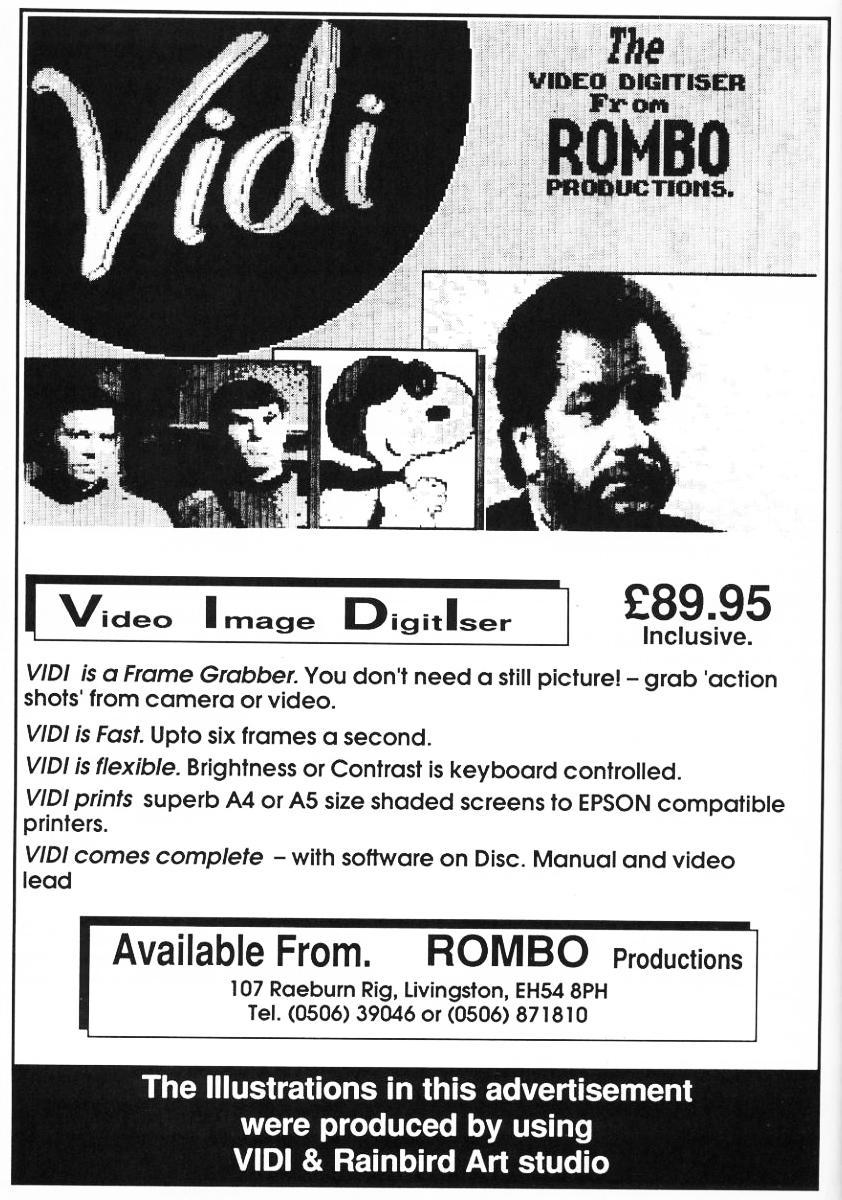
| ★ HARDWARE ★ VIDEO DIGITALISEUR ★ VIDI VIDEO DIGITISER (ROMBO PRODUCTION) ★ |
David Radisic combines three of his favourite things — a laservision player, Kate Bush and his CPC 6128. While wandering round the Amstrad User Show I came across Rombo selling a Digitiser. "Wow!" I exclaimed, "just what I've always wanted". So after chatting to them for a few minutes I tried to obtain one for "review purposes". Alas, they did not hand one over, even though I dropped Simon Rockman's name a few times during the conversation (could this have been the reason?). Desperate methods were needed here, so the only thing that could be done was to buy one - and me a life long scrounger. Handing over my cheque for the best part of £901 was given a small brown box with a sticker saying VIDI Interface and a disc containing the relevant software for my CPC 6128. The software is available on rom, but since the Vidi interface doesn't include a socket I settled for the disc based program. Software and documentation The Vidi manual is a short introductory "preliminary" set of photocopies - not the finished manual - and does not contain the complete instructions. This is not too much of a limitation since once the Vidi is plugged in and the software is running frame grabbing can begin by typing: The connection to the Vidi is through a standard phono connector and requires any composite video signal, such as that from a VCR or Video camera. When grabbing frames the best result is achieved from a static screen image. Unfortunately most VCRs in pause mode generate an erratic sync signal, which means the Vidi may have problems finding a frame and a bit of careful tweaking is needed to get things going. You can only grab a perfectly still image in mode 0, so this is effectively restricted to use with a video camera and tripod, or a video disc player. |VIDEO allows frames to be grabbed continuously, even from live TV (through a VCR), while you can select and change various settings such as brightness and contrast. This will no doubt be the most used feature of the Vidi, as everything is available through a small menu. In the |VIDEO mode about 3-5 frames a second are grabbed and displayed in either mode 1 (four shades/colours) or mode 2 (two shades/colours). A mode 0 (16 shades/colours) option exists which is actually displayed in Mode 1 while frame grabbing but saving or printing in Mode 0 is rather more involved. While in the |VIDEO routine the bottom line of the screen shows a small menu containing eight selections. A cursor highlights one of these and can be moved left or right through each of them. The selections do actually exist as RSXs as well and so could be used within a Basic or machine code program of your own design. Menu selections include CON -contrast level from 0 to 15 and the RSX command, |VCON. BRI controls the brightness level, which can be anywhere from 0 to 15: |VBRI is the RSX equivalent. The screen can only display 200 of 312 video lines at a time. To compensate for this a vertical adjust command allows you to select the part of the video image you want displayed and can be adjusted between 0 and 127. 0 displays the top section of the image and 127 displays the bottom. The default is set to 64, but after some experimenting I found a setting of 30 to be best for most of the action from TV. The RSX equivalent is |VPOS. The menu offers any of three modes for frame grabbing. The modes are, of course, exactly the same as the mode command in Basic. Mode 2, being only two shades, gives high resolution (640 by 200) but for most purposes does not produce very satisfactory results. It is best used for designing silhouette pictures, which can be quite pleasing. The RSX equivalent of the mode selection is |VMODE. Following the mode option comes the ink settings. This is exactly the same as the INK command in Basic - selecting an ink will show the current colour setting. This can then be modified to any of the 27 colours/shades supported by the CPC to suit the video picture being displayed.
In a Mode 1 frame the intensity levels are not as expected, being in the order 0 .. 1 .. 3 .. 2 rather than 0 .. 1.. 2 .. 3. If this causes any problems when using the pictures in your own programs there is an |RSX called |VCONVERT which swaps pens 2 and 3 so that everything is back to normal. The default filename is VSCREEN0. If the filename ends in a number it will be incremented on subsequent saves so a new filename doesn't have to be typed in each time. This saved file is a screen image binary file and can be loaded very easily, for example by first setting the mode and then executing a LOAD" VSCREEN0",&C000 When saving a Mode 0 screen image the screen is changed from it's mode 1 display to 0. The Vidi software will then grab 16 frames, one at a time, in each of the brightness levels (0 to 15). Each frame is overlayed with the previous ones to build up the final image. This can take from about ten to fifteen seconds, the end result being a high quality picture in 16 shades/colours. Altered images Once you've captured your picture of Ronald Reagan the fun begins. A way of editing your finished images with Screen Designer would be to create a dummy Screen Designer file with the same name as your video image file. This produces two files with type parts .SDS and .SCN. The .SON file can then be deleted. If you then rename your video image file from a .BIN to a .SCN file and go into screen designer the image can be loaded and edited. Printing a digitised image is done in one of three ways, depending on which mode is set. Mode 2 is printed horizontally on the paper in two tones. This picture is slightly smaller than a green screen monitor display. Mode 1 prints out exactly the same size of picture as Mode 2 but using four shades. Mode 0 is printed vertically on the paper and is about the same size as a colour monitor display. This printout, of course, uses 16 shades. The quality of the printout is very good, especially for Mode 0 frames, and results are best viewed from a distance of about five feet. Having the |VPRINT built into a ROM is very handy as it works with any type of screen image, although it can only use the preset shades. There are two other RSXs included: IVGRAB which grabs one frame and displays it in the current mode and |VRESET, which resets the menu selection settings to their default values. More powerful frame grabbing applications could be written by using the built in RSXs. Rombo Productions has some ideas and will issue updates to its software/roms as new versions become available. Rombo is looking for any ideas, programs or images that anyone comes up with, for future projects. Conclusion Of the few digitisers - for any micro - that I have seen, I would say that the Rombo Vidi compares very well and has a very-bright future. I look forward to the next version of the software - let's hope it includes a colour frame grabber or an animation system which uses digitised images for Max Headroom style films. The verdict? A very good, fast, cheap and useful interface which will go a long way and give a lot of people a lot of fun for a some time. If there are enough of us using these things in the future the magazine may well decide to hold a competition for the best digitised image, or best animation sequences. If I hadn't done so already I'd buy one. ACU #8612
|
|  |


