


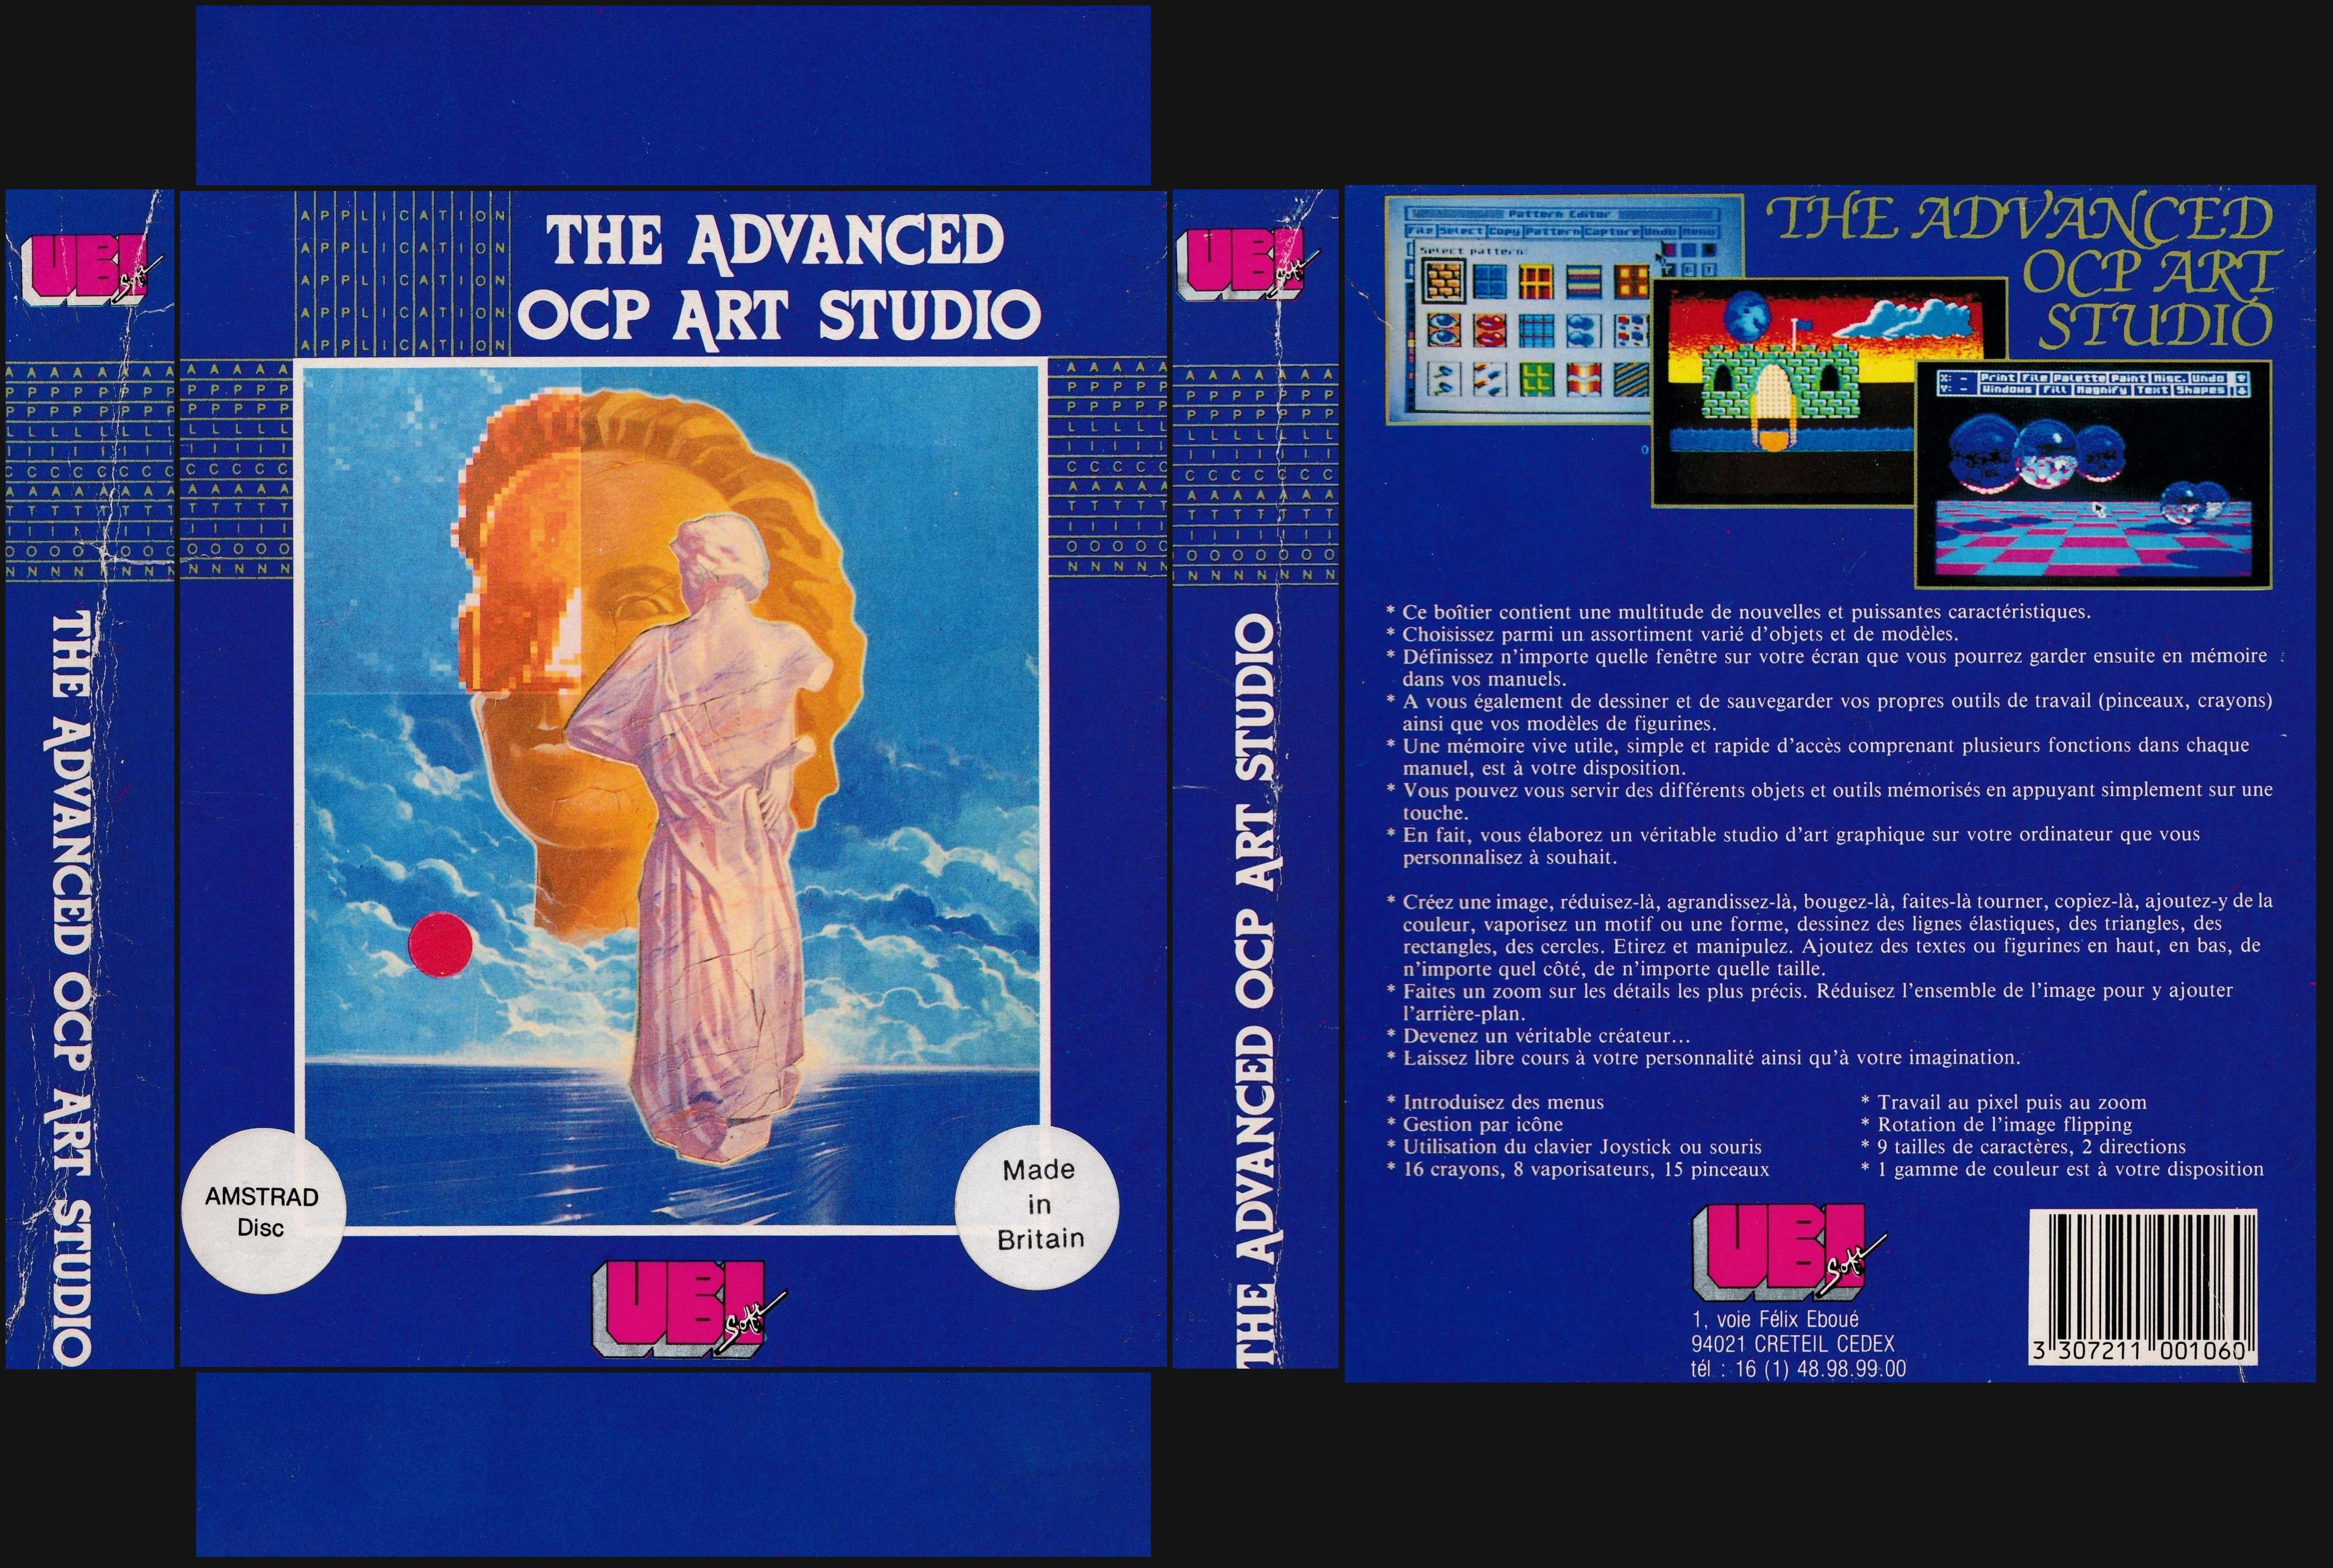
| ★ APPLICATIONS ★ CREATION GRAPHIQUE ★ ADVANCED OCP ART STUDIO ★ |
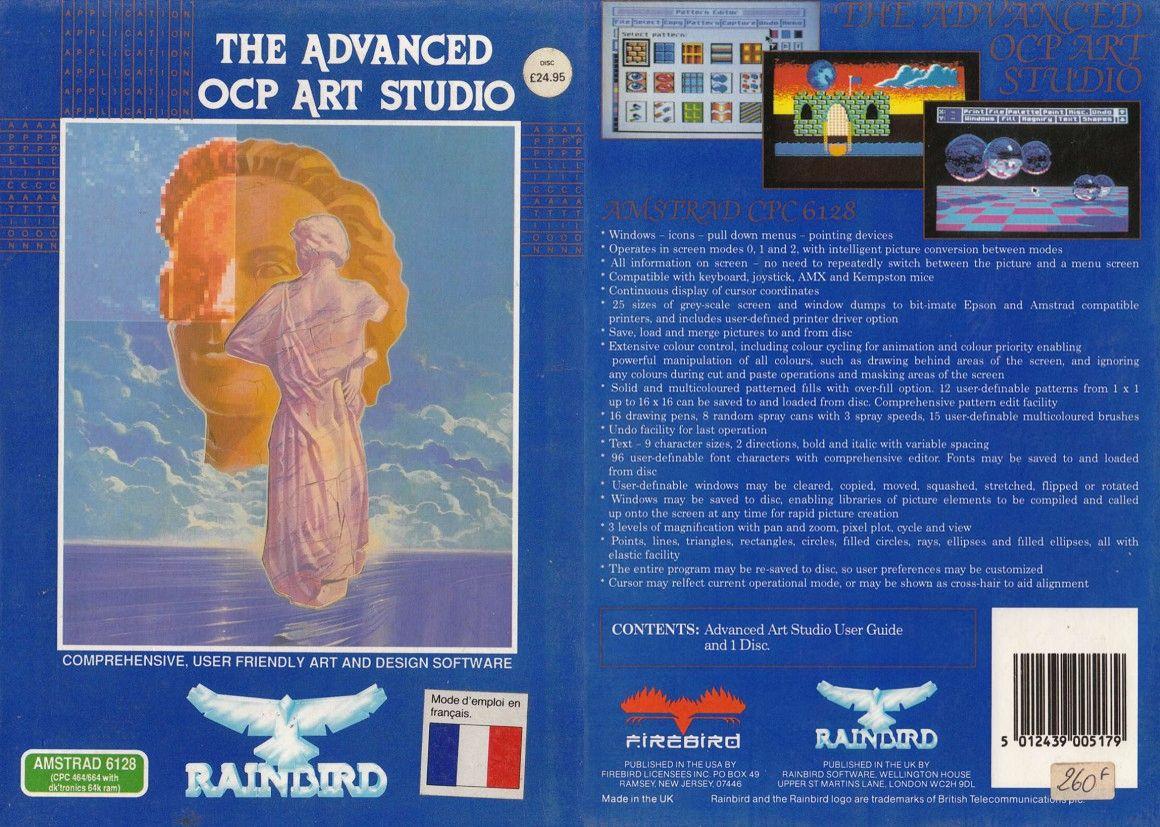
Slick packaging does not always contain the promised land. When it's from Rainbird this thought doesn't even enter your mind. Quality is assured. The Advanced Art Studio is no exception. But is it worth forking out $79.99? A review in the January issue of the original Art Studio showed that the main gripes were the absence of a Mode 0 drawing facility and the presence of Lenslok. Well, Rainbird has incorporated Mode 0 drawing as well as a plethora of goodies and improvements. And as for the Lenslok system - which repelled users as well as pirates -Rainbird has replaced it with a new system: the screen flicks into view and you are requested to enter a word from a particular sentence from the manual. Well done, Rainbird: a system that won't get up anybody's nose.
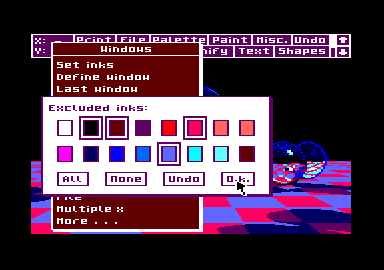
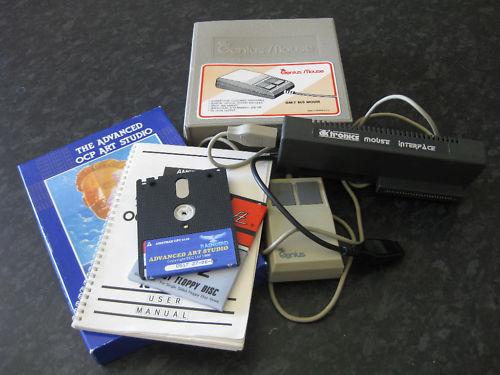
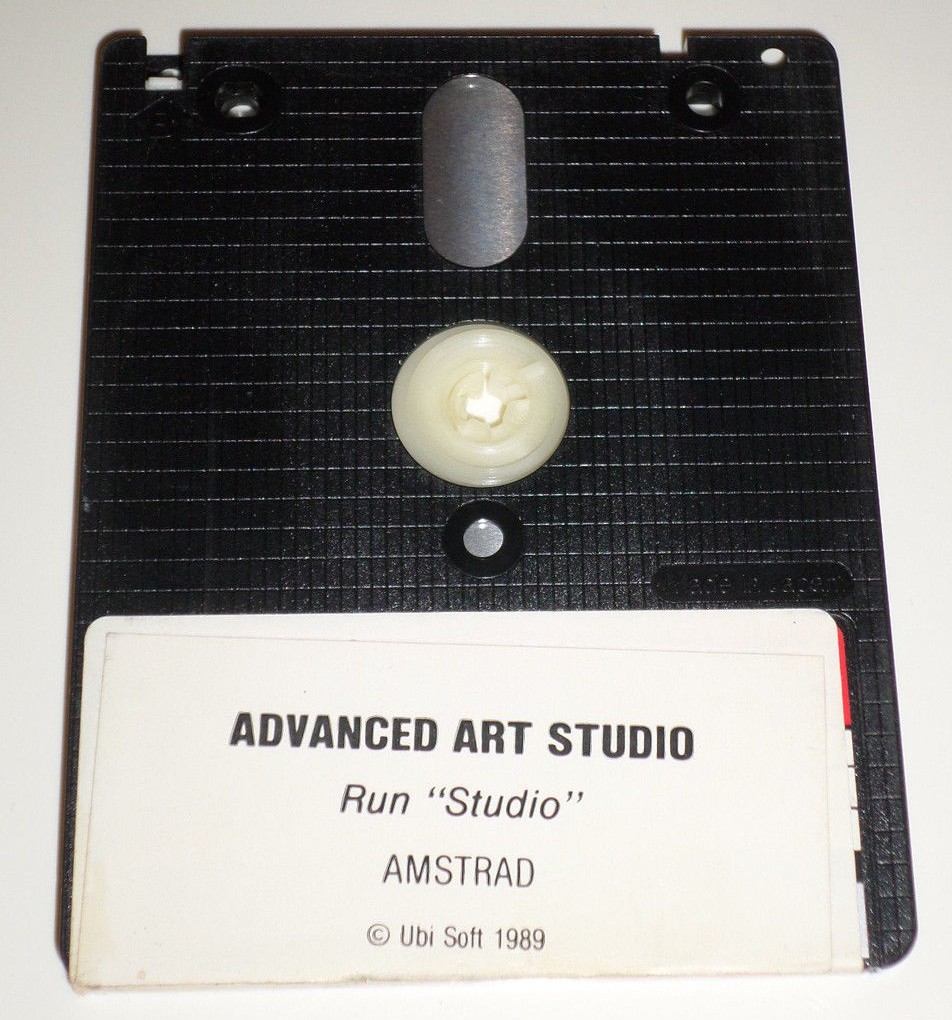
The Amstrad is capable of producing 27 colours. Sixteen of these can be displayed in Mode 0, four in Mode 1 and two in Mode 2. An inkpot can have any one of the 27 colours. These colours can be changed at any time. Simple animation effects can result when using this ink-swapping or palette-switching effect. Rainbird has included a palette-switching function within the Advanced Art Studio. Each inkpot can have up to 12 colours associated with it. You define the speed at which the colours cycle through the inkpots. The disc includes a demo picture that uses this cycling effect - impressive. After flicking quickly through the manual I was under the impression that animation sequences were possible. Closer scrutiny revealed it was just spivved-up palette-switching -a pity. From the Paint menu you have 16 pens of various shapes and sizes at your disposal. To use the pen as an eraser, set it to the background colour and draw over the unwanted bits. Eight spray cans are available, varying in spray density and flow rate. An art package wouldn't be an art package without a brush option. When using the brush you ust select, from a menu of 15, the pattern with which you wish to paint. If no-re of the patterns take your fancy, load up another set from the disc. Still not satisfied? Create your own by entering the pattern editor. Patterns can be single-, double- or mulricoloured. Life is made as simple as possible inside the editor horizontal and vertical flip, rotate at a multitude of angles , scroll the contents of the pattern box in any direction and a useful "undo" facility. Under the Misc. heading is smattering of miscellaneous options. Come here to alter screen mode, view the entire screen (without the command line ), clear the screen, choose your input device (joystick , mouse etc.) and you can even find out which version Art Studio you own . An intriguing option is protect inks. This enables you to select or deselect (depending which way you look at it) inks. These protected inks can not be overwritten - even when you try to paint or draw over them. Excellent results can be achieved using this powerful function. Imagine you use the fill routine. Things go horrendously wrong. Just one pixel out and everything gets obliterated. Luckily there is a command with clout: Undo. Using this will restore your picture to its former glory - and it works every time. The trick is that two scrccns are held in memory. One holds the current picture; the other holds the screen as it looked before you issued the command (in out example, "fill"). Windows A few clicks from your input device is all that it takes to define a window. After that you can rotate, compress, enlarge, copy, flip, re-scale or copy it. That is the basic side of it. To complement these features you can add unbelievable merging features: you can OR-, XOR- or AND-merge, smear (which allows you to paste the window many times, giving a paintbrush effect). It is impossible to d escribe all the functions fully. Once you start playing around with windows there is a chance you will use nothing else. Look at the screenshots to see what can be done - even that is just skimming the surface. The fill routine used in the Advanced Art Studio is undoubtedly the most intelligent. As long as the object or area you wish to fill has a continuous outline there's no problem. If there is a break in the outline, the fill will leak out and probably ruin your picture. Don't worry if this does happen as you can always Undo, There arc several fiil-types: solid, over, textured, wash. Solid-and over-fill will cover the area in the selected foreground colour. You can fill an area with a pattern using textured fill. Some very nice touches can be added to pictures using this - even more so if some of the inks on the screen are protected: the fill does not affect them, passing underneath instead. There is a selection of patterned fills which you can re-design using the pattern editor. The final fill possibility is wash texture. This versatile feature allows you to paint directly with a pattern. In short, it allows texture to be overlaid onto one another. For close inspection, choose the Magnify option. Three levels of magnification are available: x2, x4 and for fine detail indeed, x8. Parts of Pagemaker have crept into the Advanced Art Studio. Text can be adder to your designs in a variety of styles and sizes. The standard Amstrad font is present, with further fonts on the disc. You could always design your own characters or fonts with the font-editor. Fonts can be saved and then used from within Basic -handy. Other effects can bi added such as bold, slant and kerning (adjusting the spacing between characters), or you could print them sideways down the screen. Unlike Pagemaker, though, you can't pull text in from a file on disc. No art package is complete wilhout the obligatory shape menu. This one has all the standard shapes - rectangle, circle, ellipse, line and dot - plus some fancy shapes: filled circles and ellipses, elastic shapes, rays. A normal CPC screen consists of 25 lines The Art Studio takes three of these lines for its own use as status or command lines. Your screen is not limited by this (unlike Pagemaker, for example) as you can scroll the screen and bring hidden lines into view. By moving a pointer (or cursor) across the screen you can select one of the many options from the top command line and pull down its more detailed menu. Moving from left to right across the command line, the first option is Print. From the pull-down Print menu you can produce a hard copy or dump of the whole screen or part of the screen (a window). You'll need a dot-matrix printer to use this facility: any model using standard Epson codes, such as the Amstrad DMPs. If you have a nonstandard printer and get on fairly well with it, you could try to write your own printer-driver. The manual describes the procedure. Various sizes of printout are available. Independently adjustable horizontal and vertical scaling factors enable you to create the perfect dump. Physical dimensions of a dot vary from printer to printer, so a certain amount of fiddling is necessary till you get it right. You can also print pictures sideways and in any position on the page. Stipples or dot-arrangement on the printer represents the different colours on the screen. Darker colours will have a denser dot-pattern. A nice effect is that as the picture data is sent to the printer it is echoed to the screen. Compressed screens There is nothing startlingly new in the File deépartment. The only addition is the ability to compress screens before saving. Minimum reduction in file size is 40%. when loading back a compressed screen there is no need to inform Advanced Art Studio: it knows. As well as the screen you can save the current palette, from other menus, you have the option to save character fonts, patterns and windows. Rudimentary disc commands - cataloguing and erasing -are also available. Interesting effects can be achieved when using the merge facility: the current screen contents combine with the new picture resulting in bizarre effects. Conclusion If you thought your current art package was complete, think again. The Advanced Art Studio is amazing. You'll want to use it to create pictures. Even if you're not artistic you will be surprised at what you can achieve. Its simplicity hides many complex functions. Some you may use only once. As for the others, you'll wonder how you ever managed without them. Design utilities have come a long way since the days of Easy art. And it's all thanks to companies that care (although I'm a bit cynical about motives for "advanced" or "plus" packages that abound - I suspect they're planned well in advance!). The Advanced Art Studio is a powerful tool with a down-to-earth price and arn easy-to-use command structure. Recommended. Price and Upgrades If you lived in the UK, I guess you could pop in to Rainbird at Wellington House. Upper St. Martins Lane, London WC2H 9DL, thrust £10 in their hands and get an upgrade to your original Art Studio package. Unfortunately this upgrade appears not to be available in Australia. The complete package (disc only) is imported by ISD. It will work on a 6128 or a 664 with an expansion RAM or a 464 with a disc drive and an expansion RAM. It will cost you $79.99 TAU |
|  |


